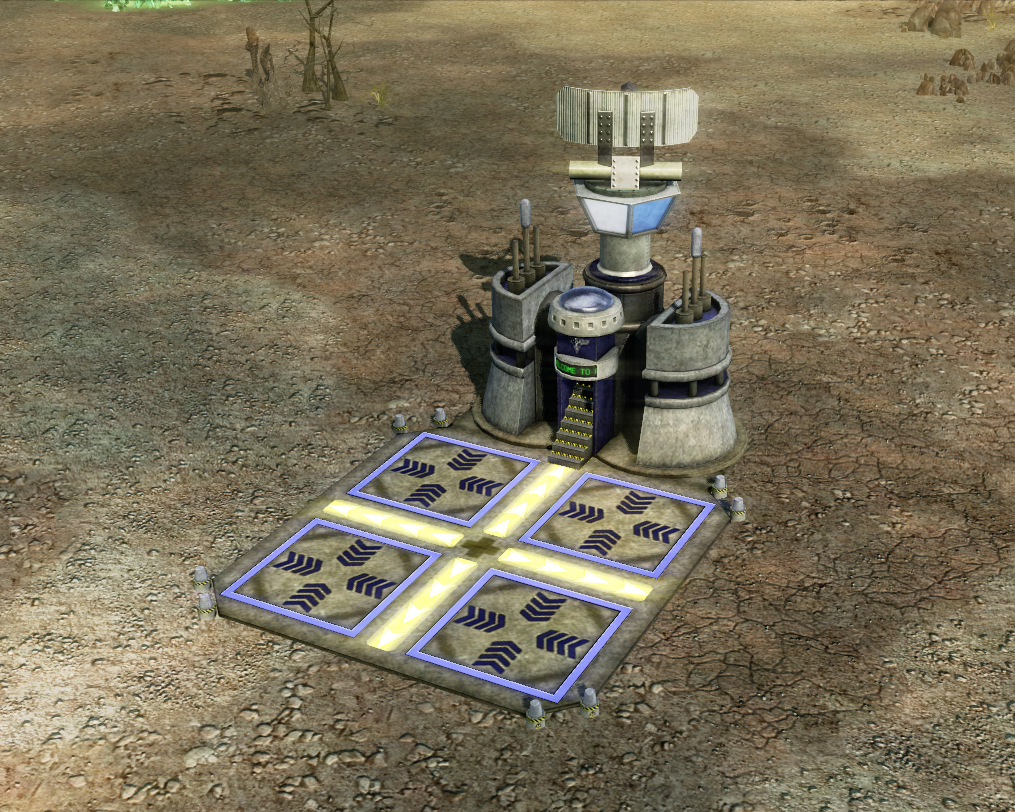
This is very important for the Allies, because it differs from the Soviets Airfield. How so? Well as in RA2, the Airforce Command provides radar. It also acts as a combined tech and production structure (it unlocks tier 2 units and obviously allows for the building of a limited number of aerial units).
Since this one structure is providing the function that it takes 2 Soviet structures, there is an obvious advantage, at least initially.
The downside is that it takes a longer time to build the Airforce Command structure. So while it is possible to have aircraft on the battlefield well before the Soviets, it is faster in the long run for the Soviets to field multiple airfields (as well as the fact that they have far more aircraft to choose from).
To make up for the slower build time, the Airforce Command has 25% more health than the Soviet Airfield.
A welcome addition to the Allied aerial arsenal is the Harrier jet. This is a really big deal, because it allows for the Allies to finally take the fight to the skies against the merciless Soviet MiG (and also to attempt to intercept the dangerous Soviet Bombers).
The basic Harrier has the exact same ability as the MiG, same price and everything, so there can be no initial complaints of the fight being unfair!
If you want to spend a little extra money though, you can upgrade each Harrier aircraft with a couple of bombs. These bombs are despatched via a special ability (ie they are manually targeted), and once you have dropped them, you reload the bombs at the airfield like you would your missile ammunition.
As these are not guided bombs (you get a target cursor that gives you an idea of the effective radius), it is preferred if you target static or slow moving targets, but ultimately if you can avoid the MiG's (and the other Soviet anti-air options), you can get more damage done with clever usage of your upgraded Harriers!